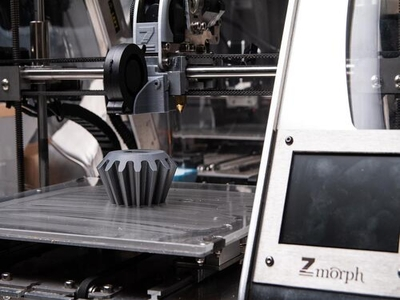
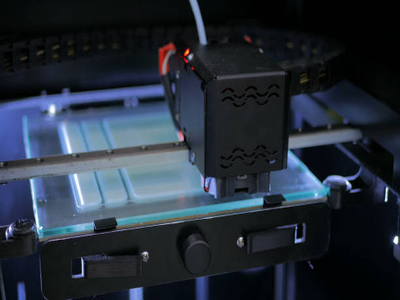
A leveled 3D printer bed is crucial for printing high-quality objects.
If the bed is not leveled correctly, your prints will come out looking distorted and warped.
In this blog post, we will show you how to level a 3D printer bed in just a few easy steps!
Why is it important to have a level bed?
Having a properly leveled bed ensures that your prints will be of the highest quality possible, with minimal 3D print warping and curling.
It also helps to prevent your extruder nozzle from scratching the build platform, which can lead to poor print quality.
Learning how to level a 3D printing bed can be a time-consuming process, but it’s worth it to ensure that your prints turn out flawlessly.
Two Methods
There are a couple of different methods that you can use to level a 3D printing bed.
The most common method is to use leveling screws or leveling nuts.
This method is simple and effective but can be difficult to get the bed perfectly level.
Another popular method is using auto-leveling sensors.
These sensors can be tricky to install, but they typically do a good job of leveling the 3D printing bed automatically.
Whichever method you choose, taking the time to properly level your 3D printing bed will pay off in the long run with better print quality.
How to know that your bed needs leveling
A 3D printing bed needs to be leveled so that the object being printed is not distorted, and there are a few ways to know if your bed needs leveling.
First method
The first way is to look at the first layer of your print.
If you see gaps between the filament and the bed, then the bed is not level.
Second method
The second way to tell if your bed needs leveling is to measure the height of your nozzle tip from the bed.
If it is not the same all the way around, then your bed is not level.
Third method
The third way to know if your bed needs leveling is to use a piece of paper.
Place the paper under your nozzle and try to slide it back and forth.
If there is resistance, then your bed is level. However, if the paper slides easily, then your bed needs to be leveled.
By following these steps, you can ensure your 3D printer bed is level so that it produces quality prints every time.
Read More: 3D Printer Nozzle Type. We explore the various nozzle types and their uses!
What do you need to level your bed?
To level your bed, you will need a few basic tools and materials.
First, your 3D printing bed needs to provide a flat surface on which to lay the 3D model. Depending on the size of your 3D printer, this bed can vary in size and shape.
Some 3D printers have heated beds to help keep the 3D print material in place as it’s being printed, while others simply rely on magnets or adhesive tape for support.
Additionally, you may want to use sandpaper or another type of fine-grained abrasive material to smooth out any imperfections or unevenness in the 3D printing bed.
Finally, you will need some way to clamp or hold down objects during 3D printing.
Clamps and magnets are popular options for this purpose.
With these tools at your disposal, leveling your 3D printing bed should be an easy task!
how to level a 3D printer bed
make sure the area around the printer is clean
When it comes to leveling your 3D printing bed, the most important thing is to ensure that the area around your printer is clear and free of obstacles.
This will allow you to easily access the printer while you perform any necessary adjustments or calibrations.
You should also make sure that you completely clean the surface of your print bed before getting started.
Additionally, setting up a drop cloth or a sheet of paper beneath your printer can help catch any stray material that may come loose.
Find the four leveling screws on the corners of the build plate
Identify the four leveling screws on the corners of the build plate.
These screws allow you to adjust the height of your build plate so that your model will be printed at an ideal and even angle.
In general, there are four different leveling screws – one on each corner – that you can adjust independently.
Depending on the size and shape of your model, it may be necessary to tweak these screws slightly to get the perfect print orientation for each inch of your model.
Once you have located the screws, you need to turn them clockwise until they are snug against the printer.
Adjusting Springs
Then the next step is to adjust the tension on the springs. To do this, you will need to use a Phillips head screwdriver.
Once again, you will need to find the four screws, but this time you will need to turn them counterclockwise.
The quick video below will show you how to level your Creality Ender 3 (or a similar size 3D printer):
Conclusion
Leveling your bed is an important step in ensuring optimal printing results.
With a little patience and care, you can ensure that your new printer is ready for use and that your prints are of the highest quality.
Thanks for reading! We hope this guide was helpful!