Whether you’re experienced or just starting out, you can generate 3D objects with a few clicks of a button that would take hours or days to create by hand.
But, what about issues with how to fill gaps in 3D prints?
We’ll go over the steps on what to do about gaps!
3d Printer Fill, Prime, and Smooth Gaps
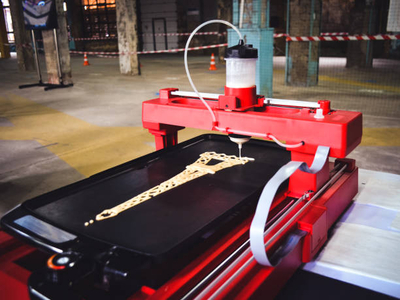
The 3D printer is the ultimate DIY tool that helps us unleash our creativity by allowing us to make various projects that our imaginations can conceive.
It is also versatile enough to be used in many settings, from a home workshop to a classroom and beyond.
3D printers give users the ability to produce complex objects with a high degree of 3D printing accuracy and detail.
And, the new technology has made 3D printing more accessible than ever before.
However, there are times when you may be left with a messy-looking print that needs to be fixed. This includes filling gaps in 3D prints.
The video below is a great illustration of filling gaps and seams in your 3D print job.
Sanding
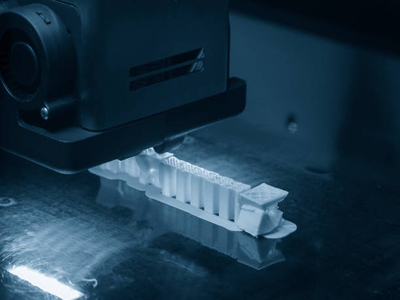
3D printers offer a quick and easy way to create three-dimensional objects.
However, one of the challenges of 3D printing is that the finished product can often have a rough surface.
This can be caused by the build process or by imperfections in the filament.
One way to address this issue is to use sandpaper to smooth the rough patches.
While this technique does require some time and patience, it can produce very satisfactory results.
Begin by standing with a medium-grit paper, and then progress to a finer paper until the surface is smooth.
It is important to sand in a consistent direction, and to avoid applying too much pressure, as this could damage the print.
With a little practice, you will be able to produce smooth, professional-looking 3D prints.
Cleaning, Polishing, and Painting
When it comes to making your projects look their best, it’s important to choose the right finish.
What’s the best way to apply these finishes?
Let’s take a closer look.
Polish Vs Lacquer
Polish is typically applied with a soft cloth, working in small circular motions until the desired level of shine is achieved.
Lacquer, on the other hand, is usually sprayed on in light coats, allowing each layer to dry before applying the next.
Depending on the type of lacquer you’re using, you may also need to buff it after it’s dry in order to achieve a high-gloss finish.
Once you’ve chosen the right finish for your project, taking the time to apply it correctly will ensure that your work looks its best.
With a little care and attention to detail, you’ll be able to create beautiful pieces that are sure to impress.
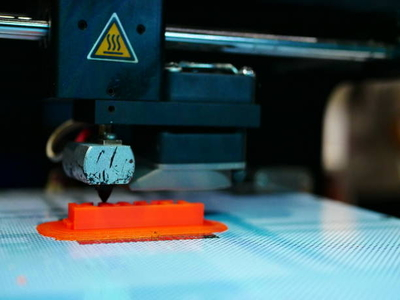
Filling Structural Gaps
3D printing is an amazing technology that allows users to create objects of all shapes and sizes.
That said, one of the challenges is dealing with structural gaps and learning how to fill gaps in 3D prints.
The 3D printer creates these gaps when it builds a part.
They might be sandpapered or smoothed out, but they can’t be sanded away completely since structural components may not fit together properly.
These gaps can weaken the overall structure of the print and affect the aesthetic appeal of the finished product.
However, there are a few ways to deal with structural gaps, including using infill patterns and void-filling materials.
Infill Patterns And Void Filling Materials
Infill patterns are designed to support the outer shell of a print and can help to reduce the visibility of gaps.
Void-filling materials, on the other hand, are used to fill in gaps and add strength to a print.
With a bit of trial and error, you’ll be able to find the right solution for your 3D printing needs and correctly learn how to fill gaps in 3D prints.
Painting
There are many different ways to enhance the look of your 3D print.
One of the easiest and most effective methods to enhance your print, fill in gaps and cracks, or fix blemishes is to apply paint to it.
Applying paint offers a number of different benefits.
For example, you can use paint to fill in and hide any cracks or blemishes that may be present in your 3D print.
You can also use paint to add a decorative flourish to your creation, giving it a sleek, polished look that will make it stand out from the crowd.
Finally, when done correctly, painting your 3D print will help it hold up better over time, increasing its durability and resilience so that you can enjoy your creation for years to come.
Removing Unnecessary Material
Materials such as supports, skirts, and rafts are commonly used during 3D printing in order to provide your 3D prints with better support and balance.
However, these materials must be removed afterward, which can take some time and effort.
That being said, the benefits are worth it.
A well-supported print will be easier to complete and less likely to suffer from 3D print warping or other issues due to its sturdy foundation.
Supports, Skirts, and Rafts
For example, supports hold up parts of your print that may otherwise droop or sag under their own weight.
Skirts ensure that the edges of your print are uniformly solid and free from holes or thin spots that could cause cracking or other imperfections.
Finally, rafts provide a stable base for smaller prints that may shift and slide around during the printing process without these additional layers of support.
So if you want your 3D prints to be strong, accurate, and reliable every time, investing in supporting materials will help you achieve just that!
Final Thoughts
Whether you’re a seasoned 3D printing enthusiast or just starting out, there are many tools and techniques that can help you overcome structural gaps and enhance the look of your prints.
With a bit of time, effort, and experimentation, you’ll be able to create stunning pieces that will impress anyone who sees them.
Articles You Might Want to Read