Have you ever wondered how those stickers look so flawless on the glass doors of your nearby shops or on your colleague’s car door?
Many of these stickers are actually made of a smooth glossy material called vinyl. While they make for great decals regardless, they shine especially brighter on glass!
That is why we are here to discuss the few steps in which you can make them yourself! So get ready with all the required materials to know the way to make vinyl stickers for glass.
How To Make Vinyl Stickers For Glass?
Required Tools:
- Photo Editing Software or Newspaper/Magazine With Design
- Vinyl sheet with adhesive back
- Sharp knife
- Scissors
- Tweezers
- Scotch tape or glue
Working Steps:
1. Choosing Design
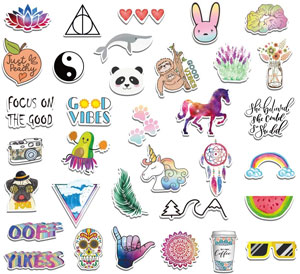
The first thing you must do to make vinyl stickers for glass is of course – make the sticker design! If you have been coming up with ideas for this for a while, it is time to bring them to life with a designing software!
The best option for this part is of course mainstream image editors like Adobe Photoshop and Illustrator. These software come with all the major tools so that you can create the best version of each concept. So take your time in figuring out the details of your sticker design including the colors, font and shapes.
If you don’t want to go the digital way and make a new design, you can also photocopy an already existing one or cut it from the newspaper! This is applicable to newbies who just want to practice the sticker-making process and enhance their skills at it.
2. Vinyl Selection
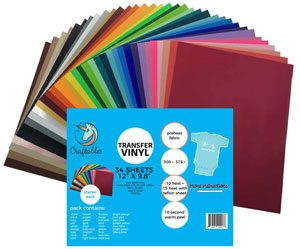
Vinyl itself is a great material to make a sticker or decal out of. If done right, it shines just right to draw the attention of your potential customers, but not too much to overpower the appeal. That is one of the many reasons we have picked vinyl for our sticker today.
However, there are many variations available in adhesive vinyl. If you want the printed type with an assurance of high performance, you should go for wrap, high tack, static cling, conformable or rolled vinyl.
On the other hand, if you have planned to cut out the sticker, cut vinyl can provide you with average to high performance.
Some varieties like translucent rolled vinyl and reflective vinyl on the other hand can work with both cut and printed types.
When you have settled on the vinyl type you want to work with on this project, cut a piece out of it. Compared to the design, the size of this piece should be close to half-an-inch larger. If the vinyl is too tricky to deal with, use a cutting surface to make the job easier.
Set up this vinyl sheet on the printer so that the design can come out smoothly on it after printing.
3. Preparing Design
When you have printed out the design, xeroxed it or cut it out from a newspaper, you need to cut it in the proper size. While this may sound like a trivial step right now, it actually holds quite some value in the long run. That is because the amount of space you live around the edges will play a part here.
Remember to maintain a margin of half-an-inch so that you can adjust its position easily while placing it on the main glass area. This extra space will make it more smooth for you to stick its adhesive face on the surface.
If there are two or more layers required for your sticker, the surrounding space may not be necessary. You will need to only cut out each shape as intricately as possible to properly place them over each other in the correct order.
4. Taping to Vinyl
When the design template has been printed out, tape it to your vinyl. You can skip this step if you already have a machine that prints out the digital design cut into the vinyl sheet. However, doing this manually will obviously require some extra precautions.
So tape the design on your selected vinyl sheet flushing it out in as many spots as you can. If there is any large unused space on the main design, cut out a hole there and secure them on the vinyl sheet as well. Remember to use anchor points to keep the vinyl sheet steady while you tape the printed logo or pattern.
5. Weeding Sticker
Till now, it has been a relatively smooth sailing. However, you may start experiencing hand cramps, eye strain or headache in this step! Here you have to cut out every single corner or curve of your design with flawless weeding skills.
If this is your first rodeo, don’t be too worried about the outcome and just maintain a laser focus on your work. You don’t have to complete it at one go!
Feel free to take breaks and rejuvenate yourself from time to time. It is okay to spend even a week on carving out one sticker!
For best results, start with cutting the inner details, like those in the letters A, O or P. Cutting the edges first will make it harder for you to attain a smooth cut-out on the inside.
Try to make deep cuts without overlapping the lines. Look back at your goal design to keep your progress in check.
Rely on the corners to pick up and start removing the negative space, if necessary. When you are done with weeding, see if there is an edge or corner you missed.
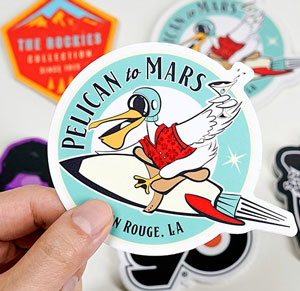
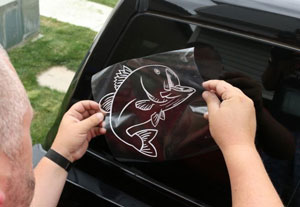
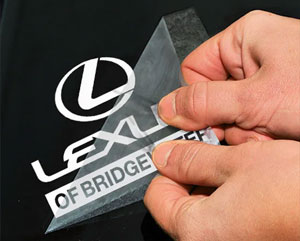
6. Transfer
Lay down the design flat on its adhesive side on the transferable surface. Make sure to flush it well so that there is no chance of any air bubble or crease forming during the transfer. Start from one upper corner and roll it down slowly with one hand, while using the other hand to maintain the flush.
Remember to clean up the main area before putting up this vinyl sticker. Especially glass can easily highlight minute dirt amounts more prominently than other materials. If these debris get stuck behind your decal, it is all anybody will notice.
Conclusion
So, now that you know how to make vinyl stickers for glass, have you figured out what you want your first design to be?
If the answer is yes, remember to get your hands a little crampy and your patience a little tested.
However, at the end of it, your glass door, car window or showpiece will surely look a lot more spectacular with the sticker on!
Thanks for visiting printtopeer.com
Also read: