Whether you’re starting your own fashion label and need to have the ability to print your own designs on T-shirts, or you’re planning to start a T-shirt printing business for custom designs, one of the easiest ways to get started is to purchase a heat press machine.
Heat press machines are popular for beginners because they’re much less expensive and cumbersome than a silk-screening machine, but how do you use one?
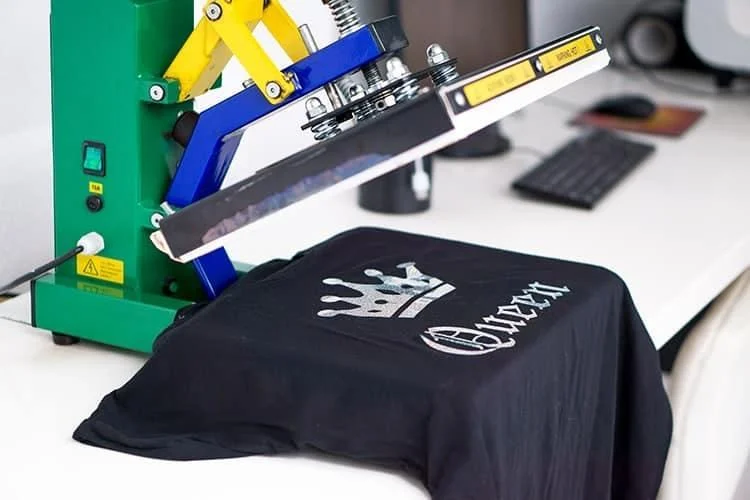
Here’s our step-by-step guide where we show you how to use a heat press machine in a few simple steps!
How to Use a Heat Press Machine in 6 Steps
Step 1: Choose and Purchase a Heat Press
Choosing an appropriate heat press will depend on what you’re planning to use it for.
If you’re starting a T-shirt printing business, you’ll need a heat printing machine that has a pressing table of at least 16” x 20”. Anything smaller would limit the size of your designs.
There are multifunctional heat presses that’ll help you print designs on a wider range of products. Although they tend to be more expensive, paying extra for a more professional product will make a big difference for a new business seeking to deliver high-quality products.
If you’re new to t-shirt printing, check out our guide to the Best Heat Press Machine for Beginners!
Step 2: Choose the Material You Plan on Pressing
If you’re pressing designs onto T-shirts, choose a fabric blend that isn’t overly sensitive to high temperatures.
Thin materials and pure synthetic fabrics can be susceptible to heat damage, so you may want to favor cotton or blends that feature nylon, polyester, and spandex.
How Should You Prepare the Fabric for Heat Pressing?
For the best results, you may want to prewash the fabric before you heat press it. However, this could cause wrinkles. Ironing the area you’ll be pressing is a good next step after prewashing, as this will prevent wrinkles from ruining the quality of the press.
Step 3: Create and Print Your Design
Naturally, you’ll need a design to press.
Vector images tend to work best, as you can stretch them to your desired dimensions without having to worry about distortion or the design looking overly pixelated.
REMEMBER: print a mirror image of your design, as it will be reversed when you press it.
Consider test printing your design on regular paper, so you’re sure it’s the right size and that it meets your expectations without wasting a sheet of transfer paper.
What Types of Transfers Can You Use with a Heat Press?
An essential aspect of heat pressing is printing your design onto heat transfer paper. The sheet of heat transfer paper will have the design printed on it and the heat press will then transfer it from the sheet to your garment.
The 3 most common transfers used with a heat press are:
- Inkjet Transfers – Basic inkjet printers can create heat transfers, but the quality tends to be lacking. Just make sure you purchase the right type of paper and remember that inkjet printers cannot print white, so use a white fabric if you’re planning to incorporate white into your design.
- Laser Printer Transfers – Laser printers also produce low-quality results, but they print quickly, so they can be acceptable for basic designs such as plain text. Again, make sure you’re buying the correct type of transfer paper.
- Sublimation Transfers – Sublimation paper requires specific ink. It’s expensive, but the results can be impressive. However, it only works when you’re printing on polyester fabrics.
Step 4: Prepare Your Heat Press
Now that you have your design printed onto transfer paper, you need to prepare your heat press.
Set it to your desired temperature and leave it open. Once the temperature guide or light indicates that the press is at the correct temperature, it’s ready to use.
The specific transfer paper you’re using will list the temperature you should set your heat press to. In most cases, the temperature of the heating plate will range between 350°F and 400°F, so you should use caution and avoid touching the heating plates.
You also need to set it to your desired pressure if you’re not using a manual press. Thicker fabrics need greater pressure, while thin fabrics require less.
Step 5: Position the Fabric and Transfer Paper
Make sure the material you’re working with is positioned properly in the press.
REMEMBER: avoid wrinkles as they can impact the final results. Many prefer to pre-heat the garment before they press their design by holding the press down for a few seconds without the transfer paper.
It may sound obvious, but make sure the side of the garment you’re heat press printing on is facing upward. Once you have pre-heated the shirt and positioned it properly and without wrinkles or creases, you can position your transfer paper.
Place the heat transfer material facedown in the correct location on the fabric. You can choose to place a piece of fabric on top of the transfer for added protection, but most of the modern heat presses will have a protective pad built into the press.
Step 6: Press the Design
Finally, you’re ready to press your design. Once everything is positioned correctly and the press is properly pre-heated, you can pull the press down. It should be held for 10 seconds to 1 minute, depending on the type of transfer paper you’re using and the fabric you’re pressing.
The transfer paper will list the timing and temperature setting, as will the instruction manual for your heat press. Once the appropriate amount of time has passed, you can open the press and remove the garment.
Carefully peel the transfer paper off while it’s still warm to the touch. Your new design should be transferred to the fabric!
Final Steps

Now that your design is fixed to your garment, you can turn the heat press off. However, if you’re planning to print more garments, you can leave it on and repeat the process.
Your freshly printed garment should be set aside to rest for at least 12 hours. Try not to fold the shirt where the design has been pressed. Hang it up using a standard clothing hanger to prevent accidental creasing.
When you wash the garment for the first time, turn it inside-out and avoid using harsh detergents. This will help you avoid premature fading. It will also prevent the pressed design from cracking and chipping. By now, you should know how to use a heat press machine for the best results!